瑞吉外卖项目开发记录 1.写在最前 首先特别感谢黑马程序员提供的开源课程及项目https://www.bilibili.com/video/BV13a411q753
该项目的技术栈包括Spring, SpringMVC, MyBatis/MyBatis Plus, SpringBoot,MySQL,Redis, Maven, Git,适合作为SpringBoot框架学习的练手项目,感兴趣的朋友可以点击上述的链接进行学习。
博主也是刚学习完框架,写个项目练练手,会把项目中遇到了一些值得强调的点写在这里作为highlight。
2.环境搭建 首先建库建表,这块没什么好说的,黑马提供了sql脚本帮助建表,直接执行即可,注意执行过程中会发现utf8mb3_bin的字符集已经被废弃(https://dev.mysql.com/blog-archive/mysql-8-0-when-to-use-utf8mb3-over-utf8mb4/ )所以可以更改相应的字符集设定,我这里偷懒没改。
然后在IDEA中创建相应的Maven工程,可以选择使用Maven模板创建或者使用Spring Initializar, 然后在pom中补充需要的依赖。
1
2
3
4
5
6
7
8
9
10
11
12
13
14
15
16
17
18
19
20
21
22
23
24
25
26
27
28
29
30
31
32
33
34
35
36
37
38
39
40
41
42
43
44
45
46
47
48
49
50
51
52
53
54
55
56
57
58
59
60
61
62
63
64
65
66
67
68
69
70
71
72
73
74
75
76
77
78
79
80
81
82
83
84
85
86
87
88
89
<?xml version="1.0" encoding="UTF-8" ?> <project xmlns ="http://maven.apache.org/POM/4.0.0" xmlns:xsi ="http://www.w3.org/2001/XMLSchema-instance" xsi:schemaLocation ="http://maven.apache.org/POM/4.0.0 https://maven.apache.org/xsd/maven-4.0.0.xsd" > <modelVersion > 4.0.0</modelVersion > <parent > <groupId > org.springframework.boot</groupId > <artifactId > spring-boot-starter-parent</artifactId > <version > 2.4.5</version > <relativePath /> </parent > <groupId > fun.xinliu</groupId > <artifactId > tiny_takeaway</artifactId > <version > 0.0.1-SNAPSHOT</version > <properties > <java.version > 8</java.version > </properties > <dependencies > <dependency > <groupId > org.springframework.boot</groupId > <artifactId > spring-boot-starter-web</artifactId > </dependency > <dependency > <groupId > org.springframework.boot</groupId > <artifactId > spring-boot-devtools</artifactId > <scope > runtime</scope > <optional > true</optional > </dependency > <dependency > <groupId > mysql</groupId > <artifactId > mysql-connector-java</artifactId > <scope > runtime</scope > </dependency > <dependency > <groupId > org.projectlombok</groupId > <artifactId > lombok</artifactId > <optional > true</optional > </dependency > <dependency > <groupId > org.springframework.boot</groupId > <artifactId > spring-boot-starter-test</artifactId > <scope > test</scope > </dependency > <dependency > <groupId > com.baomidou</groupId > <artifactId > mybatis-plus-boot-starter</artifactId > <version > 3.4.2</version > </dependency > <dependency > <groupId > com.alibaba</groupId > <artifactId > fastjson</artifactId > <version > 1.2.76</version > </dependency > <dependency > <groupId > com.alibaba</groupId > <artifactId > druid-spring-boot-starter</artifactId > <version > 1.1.23</version > </dependency > </dependencies > <build > <plugins > <plugin > <groupId > org.springframework.boot</groupId > <artifactId > spring-boot-maven-plugin</artifactId > <configuration > <excludes > <exclude > <groupId > org.projectlombok</groupId > <artifactId > lombok</artifactId > </exclude > </excludes > </configuration > </plugin > </plugins > </build > </project >
新建完项目后首先在application.yml中进行属性配置:
1
2
3
4
5
6
7
8
9
10
11
12
13
14
15
16
server: port: 8088 spring: datasource: druid: driver-class-name: com.mysql.cj.jdbc.Driver url: jdbc:mysql://localhost:3306/takeaway_db?serverTimezone=Asia/Shanghai&useUnicode=true&characterEncoding=utf-8&zeroDateTimeBehavior=convertToNull&useSSL=false&allowPublicKeyRetrieval=true username: root password: cc417230 mybatis-plus: configuration: map-underscore-to-camel-case: true log-impl: org.apache.ibatis.logging.stdout.StdOutImpl global-config: db-config: id-type: ASSIGN_ID
属性配置没有太多可以说明的地方,都是一些web项目常见的配置,端口号,数据源连接和对象关系映射,目前所需的配置就是这些,后续有需要时再继续补充。
因为我们专注在项目的后端部分,所以前端的静态资源就直接使用黑马提供给我们的即可。注意SpringBoot默认的静态资源Handler规定了静态资源的defualt路径
1 "**By default, this handler serves static content from any of the \*/static, /public, /resources,\* and \*/META-INF/resources\* directories that are on the classpath**. "
如果静态资源放置于规定的路径下那么无需更多的配置即可直接在项目的context下访问,否则的话需要在application.yml下进行配置或者创建一个配置类。在ym中配置的key如下:
1
2
3
4
5
6
spring: mvc: static-path-pattern: web: resources: static-locations:
其实这就是原来我们在SSM中配置的defultServlet,用于在DispatcherServlet前对静态资源请求进行处理
1 <mvc:default-servlet-handler />
这里为了熟悉配置类的使用我们选择使用配置类的方式进行配置。新建一个WebMvcConfig类,继承WebMvcConfigurationSupport然后重写其addResourceHandlers方法即可。
1
2
3
4
5
6
7
8
@Configuration public class WebMvcConfig extends WebMvcConfigurationSupport { @Override protected void addResourceHandlers (ResourceHandlerRegistry registry) { registry.addResourceHandler("/front/**" ).addResourceLocations("classpath:/static/front/" ); registry.addResourceHandler("/backend/**" ).addResourceLocations("classpath:/static/backend/" ); } }
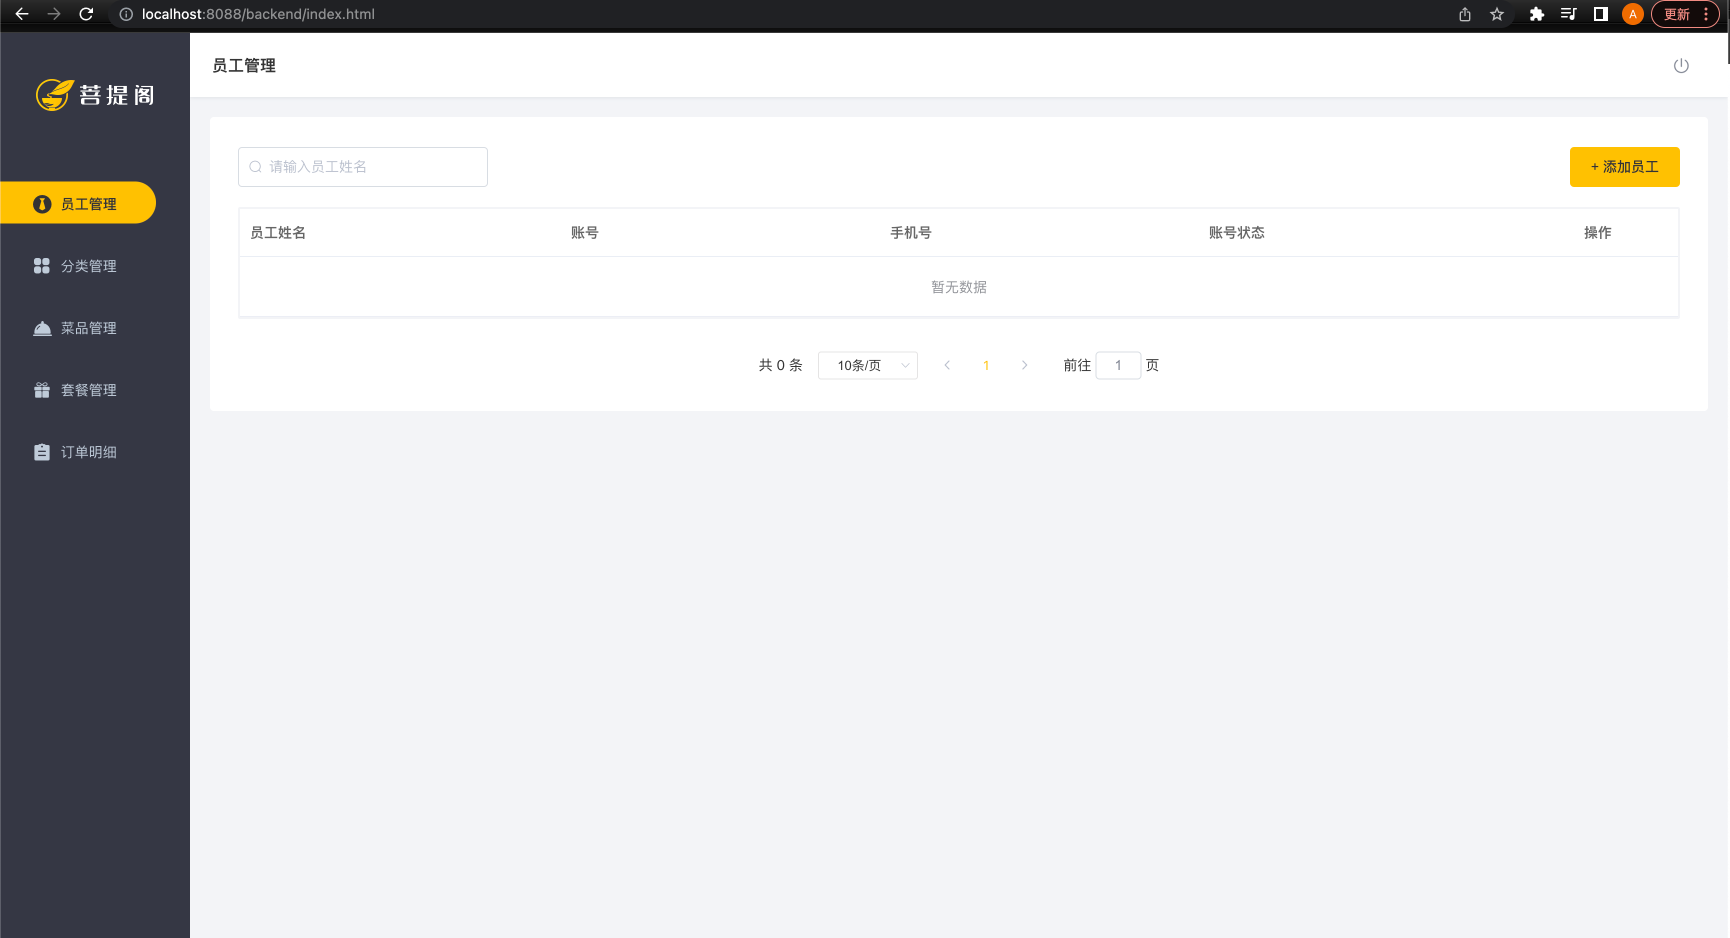
准备工作及环境搭建大概就是如此,启动application然后访问8088端口,可以看到静态资源已经可以访问了。
3.后台系统登录功能 3.1需求分析 因为登陆功能相对比较简单,所以我们从登陆功能开始入手,需求分析大致遵循如下的步骤
1.页面原型分析
2.登陆页面分析(分析前端页面和后端约定的数据传输格式)
3.查看登陆请求信息,如请求的pattern请求发送的参数balabala
4.查看对应的数据模型
3.2代码开发 创建实体类和表进行映射 创建对应的Mapper和Service及其实现{.tabset} EmployeeMapper 直接继承BaseMapper即可
1
2
3
@Mapper public interface EmployeeMapper extends BaseMapper <Employee> {}
EmployeeService 继承IService
1
2
public interface EmployeeService extends IService <Employee> {}
EmployeeServiceImpl 继承EmployeeService并实现ServiceImpl,注意泛型中要填入mapper和实体类
1
2
3
@Service public class EmployServiceImpl extends ServiceImpl <EmployeeMapper, Employee> implements EmployeeService {}
统一结果封装 由于前端在接受和处理来自后端的数据时希望能有一个统一的数据格式,所以在返回数据前,我们应该对任何格式的数据进行统一封装处理。
1
2
3
4
5
6
7
8
9
10
11
12
13
14
15
16
17
18
19
20
21
22
23
24
25
26
@Data public class Result <T> { private Integer code; private String msg; private T data; private Map map = new HashMap (); public static <T> Result<T> success (T object) { Result<T> result = new Result <T>(); result.data = object; result.code = 1 ; return result; } public static <T> Result<T> error (String msg) { Result result = new Result (); result.msg = msg; result.code = 0 ; return result; } public Result<T> add (String key, Object value) { this .map.put(key, value); return this ; } }
编写对应的Controller 1 2 3 4 5 6 7 8 9 10 11 12 13 14 15 16 17 18 19 20 21 22 23 24 25 26 27 28 29 30 31 32 33 34 35 36 37 38 39 40 41 42 43 44 45 46 47 48 @Slf4j @RestController @RequestMapping("/employee") public class EmployeeController { @Autowired private EmployeeService employeeService; @PostMapping("/login") public Result<Employee> login (HttpServletRequest httpServletRequest, @RequestBody Employee employee) { String username = employee.getUsername(); String password = employee.getPassword(); password = DigestUtils.md5DigestAsHex(password.getBytes()); LambdaQueryWrapper<Employee> lqw = new LambdaQueryWrapper <>(); lqw.eq(Employee::getUsername,username); Employee emp = employeeService.getOne(lqw); if (emp == null ) { return Result.error("该用户名或密码不正确" ); } if (!emp.getPassword().equals(password)){ return Result.error("该用户名或密码不正确" ); } if (emp.getStatus() == 0 ){ return Result.error("该账户已被禁用,请联系管理员" ); } httpServletRequest.getSession().setAttribute("employee" , emp.getId()); return Result.success(emp); } }
登出功能 有登入就要有登出功能,登出功能相对较为简单,在EmployeeController中设置对应的pattern和相应的功能即可,注意登出时要清空当前会话域中保存的登陆Id
1 2 3 4 5 6 @PostMapping("/logout") public Result<String> logout (HttpServletRequest request) { request.getSession().removeAttribute("employee" ); return Result.success("退出成功" ); }
至此我们就完成了后台管理系统登陆功能的基础开发,但是仔细回想一下,我们的登陆功能仍然有很大的缺陷,因为我们在访问后台的index.html页面时并没有对用户是否已经登陆进行校验, 合理的情况下,我们应该只允许成功登陆了的用户去访问我们的后台页面,并对来自未登陆用户的请求进行拦截,下面就让我们来完善这一功能。
完善登陆功能 登陆功能的完善可以通过过滤器和拦截器实现,这里我们使用过滤器,过滤器的使用需要新建一个过滤器类,并让其实现Filter接口。除此之外,我们还需要让Spring IOC容器将我们声明的过滤器类作为Bean纳入容器的管理之中,所以我们还需要使用@WebFilter该类,并在我们的SpringBootApplication上添加@ServletComponentScan注解。顾名思义,这个注解主要是通知SpringBoot开启对Servlet相关组件的扫描功能。
1 2 3 4 5 6 7 8 9 10 11 12 13 14 15 16 17 18 19 20 21 22 23 24 25 26 27 28 29 30 31 32 33 34 35 36 37 38 39 40 41 42 43 44 45 46 47 @WebFilter(filterName = "loginCheckFilter", urlPatterns = "/*") @Slf4j public class LoginCheck implements Filter { public static final AntPathMatcher PATH_MATCHER = new AntPathMatcher (); @Override public void doFilter (ServletRequest servletRequest, ServletResponse servletResponse, FilterChain filterChain) throws IOException, ServletException { HttpServletRequest request = (HttpServletRequest) servletRequest; HttpServletResponse response = (HttpServletResponse) servletResponse; String requestURI = request.getRequestURI(); String[] urls = new String [] { "/employee/login" , "/employee/logout" , "/backend/**" , "/front/**" }; if (check(urls, requestURI)) { filterChain.doFilter(request,response); return ; } if (request.getSession().getAttribute("employee" ) != null ) { filterChain.doFilter(request,response); return ; } response.getWriter().write(JSON.toJSONString(Result.error("NOTLOGIN" ))); } public boolean check (String[] urls, String requestURI) { for (String s:urls) { boolean match = PATH_MATCHER.match(s, requestURI); if (match){ return true ; } } return false ; } }
4. 添加员工 4.1 添加员工流程分析 通过查看原型页面和前端页面的代码我们可以发现,添加员工的主要流程如下:
1.前端页面发送ajax请求,将添加员工页面中输入的数据以JSON的格式提交到服务器
2.服务器端相应的handler方法接受数据调用业务层方法对数据进行保存
3.业务层方法调用数据访问层方法操作数据库保存数据
相应的数据模型,参数传递,调用函数和请求格式如下:
1 2 3 4 5 6 7 ruleForm : { 'name' : '' , 'phone' : '' , 'sex' : '男' , 'idNumber' : '' , username : '' }
1 2 3 4 5 6 7 8 9 10 11 12 13 14 15 16 17 18 19 20 21 22 23 24 25 26 27 28 29 30 31 32 33 34 35 36 37 38 39 40 41 42 43 44 45 46 47 48 49 50 51 52 submitForm (formName, st) { this .$refs [formName].validate ((valid ) => { if (valid) { if (this .actionType === 'add' ) { const params = { ...this .ruleForm , sex : this .ruleForm .sex === '女' ? '0' : '1' } addEmployee (params).then (res => if (res.code === 1 ) { this .$message .success ('员工添加成功!' ) if (!st) { this .goBack () } else { this .ruleForm = { username : '' , 'name' : '' , 'phone' : '' , 'sex' : '男' , 'idNumber' : '' } } } else { this .$message .error (res.msg || '操作失败' ) } }).catch (err => this .$message .error ('请求出错了:' + err) }) } else { const params = { ...this .ruleForm , sex : this .ruleForm .sex === '女' ? '0' : '1' } editEmployee (params).then (res => if (res.code === 1 ) { this .$message .success ('员工信息修改成功!' ) this .goBack () } else { this .$message .error (res.msg || '操作失败' ) } }).catch (err => this .$message .error ('请求出错了:' + err) }) } } else { console .log ('error submit!!' ) return false } }) }
1 2 3 4 5 6 7 addEmployee (params) { return $axios({ url : '/employee' , method : 'post' , data : { ...params } }) }
4.2 后端处理 注意,后端handler方法接收到的JSON数据仅包含Employee中的部分字段,所以在添加到数据库之前我们还需要对其他字段进行填充处理,具体实现如下:
1 2 3 4 5 6 7 8 9 10 11 12 13 14 15 16 17 18 @PostMapping public Result<String> save (HttpServletRequest httpServletRequest, @RequestBody Employee employee) { log.info("新增员工: {}" , employee.toString()); employee.setPassword(DigestUtils.md5DigestAsHex("123456" .getBytes())); employee.setCreateTime(LocalDateTime.now()); employee.setUpdateTime(LocalDateTime.now()); Long empId = (Long)httpServletRequest.getSession().getAttribute("employee" ); employee.setUpdateUser(empId); employee.setCreateUser(empId); employeeService.save(employee); return Result.success("新增员工成功" ); }
此时我们的添加功能就大致做好了,不过还有一点需要注意的地方,那就是在数据表中,我们对用户的登陆id即username字段进行了唯一约束,如果我们重复添加具有相同username的员工数据会导致一个SQLIntegrityConstraintViolationException异常,异常的提示信息是”Duplicate entry ‘xxx’ for key ‘employee.idx_username’”,但是我们在前端页面只能看到500状态码对应的服务器内部错误,却得不到任何有关该错误的提示信息,这显然是不合理的。因此,我们有必要对这个可能抛出的异常进行处理。
4.3 统一全局异常处理 在JavaSE中我们学习了一些异常处理方式如try catch或者throw,但是一个项目中通常会有多处功能可能抛出不同类型的异常,如果我们都采用try catch的方式的就显得有些繁琐且不易于管理,因此在此处我们使用Spring框架提供的全局异常处理方式来统一进行异常处理。
首先我们在common包下新建一个GlobalExceptionHandler类,为其加上@ControllerAdvice注解,说明这是一个面向Controller的通知。Advice是AOP的核心概念,用于封装一个切面的所有属性,包括切入点和需要织入的切面逻辑。这里我们就使用这种机制来实现统一的异常管理。注意在ControllerAdvice注解的annotations属性中注明需要管理的注解类型。由于我们统一返回RESTful格式的结果所以注意添加@ResponseBody的注解(也可以使用复合注解@RestControllerAdvice)。
其次是创建相应的exceptionHandler方法,并使用@ExceptionHandler注明需要处理的异常类型。
1 2 3 4 5 6 7 8 9 10 11 12 13 14 15 16 17 18 @ControllerAdvice(annotations = {RestController.class, Controller.class}) @ResponseBody @Slf4j public class GlobalExceptionHandler { @ExceptionHandler(SQLIntegrityConstraintViolationException.class) public Result<String> exceptionHandler (SQLIntegrityConstraintViolationException ex) { log.error(ex.getMessage()); if (ex.getMessage().contains("Duplicate entry" )){ String[] strings = ex.getMessage().split(" " ); String msg = "用户名" + strings[2 ] + "已存在" ; return Result.error(msg); } return Result.error("未知错误" ); } }
公共字段填充 问题分析 之前我们在新增员工和编辑员工时需要修改时间和修改人等字段,这些字段属于公共字段,很多表中都有这些字段,那么我们能不能在某个地方统一处理这些公共字段来简化开发呢?
答案是可以的,MyBatis Plus为我们提供了公共字段自动填充的功能,下面让我们来看看该怎么使用这一功能。
代码实现 公共字段填充功能的核心在于实现MetaObjectHandler这样一个元数据处理器,并且在需要自动填充的字段上使用@TableField注解,@TableField注解的fill值对应着触发自动字段填充的方法,比如Insert或者Insert&Update。
1 2 3 4 5 6 7 8 9 10 11 12 13 14 15 16 v@Data public class Employee implements Serializable { @TableField(fill = FieldFill.INSERT) private LocalDateTime createTime; @TableField(fill = FieldFill.INSERT_UPDATE) private LocalDateTime updateTime; @TableField(fill = FieldFill.INSERT) private Long createUser; @TableField(fill = FieldFill.INSERT_UPDATE) private Long updateUser; }
其次,我们需要实现这样一个接口,在对应的方法中设定自动的数据填充,值得一提的是,因为在MetaObjectHandler的实现类中我们没有办法获取当前登陆的Session,继而无法直接获得当前Session中存储的登陆者的id,所以这里我们需要经由ThreadLocal来代为实现。
1 2 3 4 5 6 7 8 9 10 11 12 13 14 15 16 17 18 19 20 21 @Component @Slf4j public class MyMetaObjectHandler implements MetaObjectHandler { @Override public void insertFill (MetaObject metaObject) { log.info("公共字段填充(create)..." ); metaObject.setValue("createTime" , LocalDateTime.now()); metaObject.setValue("updateTime" , LocalDateTime.now()); metaObject.setValue("createUser" , BaseContext.getCurrentId()); metaObject.setValue("updateUser" , BaseContext.getCurrentId()); } @Override public void updateFill (MetaObject metaObject) { log.info("公共字段填充(insert)..." ); metaObject.setValue("updateTime" , LocalDateTime.now()); metaObject.setValue("updateUser" , BaseContext.getCurrentId()); } }
已知客户端发送的每次http请求,对应的在服务端都会分配一个新的线程来处理,通过实验我们可以发现在处理过程中下面这些类中的方法都属于相同的一个线程:
LocalCheekFilter中的doFilter方法EmployeeController中的update方法MyMetaObjectHandler中的updateFill方法
所以我们可以在doFilter方法中将登陆者的id存入ThreadLocal中,然后在后续的元数据处理器中进行填充,出于复用性的考虑,我们将这个过程抽取出来并封装到一个工具类中实现,具体的实现如下:
1 2 3 4 5 6 7 8 9 10 11 12 13 14 15 16 17 public class BaseContext { private static ThreadLocal<Long> threadLocal = new ThreadLocal <>(); public static void setCurrentId (Long id) { threadLocal.set(id); } public static Long getCurrentId () { return threadLocal.get(); } }